

How To Migrate Salesforce Authenticator To a New Phone
by
Brian
 Seamless Transition to a New Phone with Salesforce Authenticator
Setting up Salesforce Authenticator on a new device can be a breeze if you follow these structured steps. Ensure you’re never locked out of your account by keeping your access seamless across device changes. This was a PITA to find in SFO when I googled it recently.
Initiate the Connection Process:
- Sign in to your Salesforce account. Your entry point is the profile icon, leading to “Settings.”
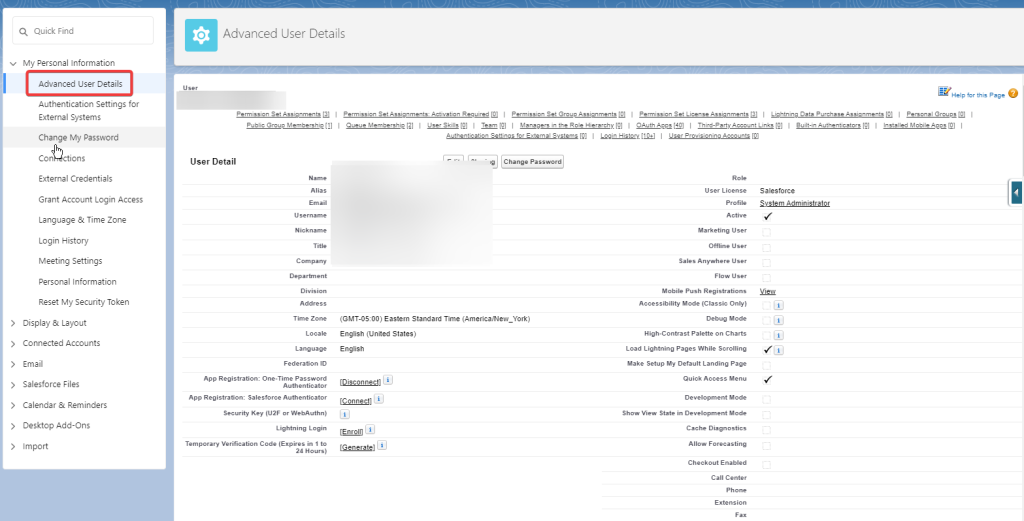
- Drill down to “Advanced User Details” and find the “App Registration: Salesforce Authenticator” section, then initiate a connection.
Generate the Two-Word Phrase:
- On your new device, launch the Salesforce Authenticator app and opt to “Add an Account.”
- Take note of the two-word phrase the app presents – this is your key to linking devices.
Enter the Phrase in Salesforce:
- Back in your Salesforce settings, there’s a field awaiting your two-word key. Enter it precisely as shown on your new device.
- Post-entry, your Salesforce will await the final link confirmation.
Complete the Sync:
- Shift your attention back to the Salesforce Authenticator app.
- It should now display details regarding your Salesforce account. Confirm and connect to sync.
Finalize Your Setup:
- With sync successful, your new device is now the trusted key holder for your Salesforce entries.
- Test the setup by attempting to access Salesforce through the authenticator.
By mirroring these steps, you’ll ensure that your Salesforce Authenticator setup on your new phone is as smooth and secure as possible.
Remember to handle sensitive information such as the two-word phrase with care and perform these actions in a secure environment to maintain the integrity of your Salesforce account.
Posted in Workflows
Leave a Reply